-
10 Wendell Ave Extension Pittsfield, MA 01201
-
210 Columbia St., Lee, MA 01238

Low slope roof repair is fundamentally different from fixing a traditional pitched roof—and getting it wrong can lead to years of water damage and costly litigation. While roofs make up only about 2% of construction costs, water intrusion accounts for more than 70% of construction litigation, making proper repair techniques essential for protecting your investment.
Quick Answer: Essential Steps for Low Slope Roof Repair
Low slope roofs—defined as those with a pitch of 3:12 or less—fail most often due to construction errors (60-70%), design flaws (20-25%), and material issues (10%). The most common culprit? Inadequate drainage that allows water to pond and eventually penetrate the membrane system.
I’m Christopher Battaini, owner of Chris Battaini Roofing & Seamless Gutters, and I’ve spent over two decades helping homeowners and business owners across the North Shore and Greater Boston area solve their most challenging low slope roof repair problems with proven techniques and quality materials. In this guide, I’ll walk you through everything you need to know about identifying issues, understanding your repair options, and making informed decisions about when to repair versus replace.
Low slope roof repair terms you need:
When we head out to a job site in Pittsfield or Lenox, we often find that the roof isn’t failing because the material is bad, but because it wasn’t given a fighting chance during installation. As the statistics show, nearly 70% of failures stem from construction errors. This might include overdriven nails, poorly sealed seams, or—most commonly—a complete lack of attention to drainage.
Design flaws account for another 25% of the headaches we see. A roof that is “dead level” is a roof that is destined for a Roof Leak Repair. Without a positive slope, water sits. Ponding water is the arch-nemesis of the low-slope world. It adds immense weight to the structure, which can lead to sagging rafters. Once those rafters sag, the “pond” gets deeper, creating a vicious cycle that eventually breaks through the membrane.
Flashing failure is another major culprit. Flashings are the transition pieces that seal the roof to walls, vents, and chimneys. Because low-slope roofs don’t shed water quickly, these penetrations are under constant hydraulic pressure. If the flashing wasn’t installed with a proper “cant strip” (a triangular transition strip) or if the sealant has dried out, water will find its way in.
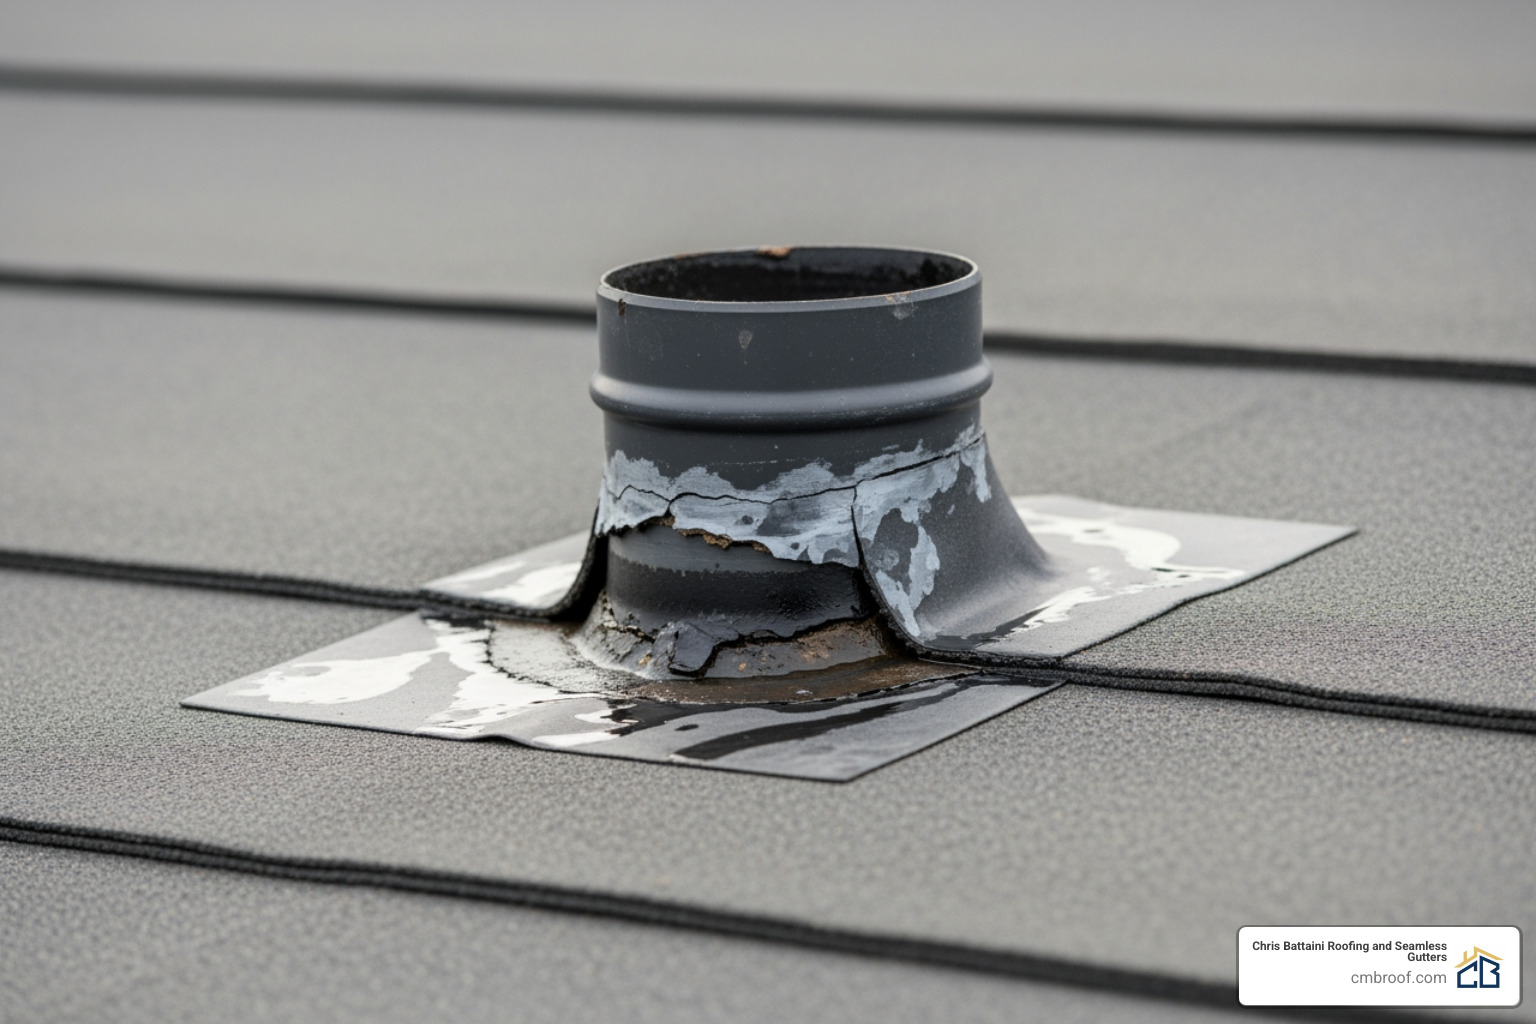
We always tell our clients in South Berkshire County that their roof will usually try to tell them something is wrong before the ceiling starts dripping on their head. Keep an eye out for these red flags:
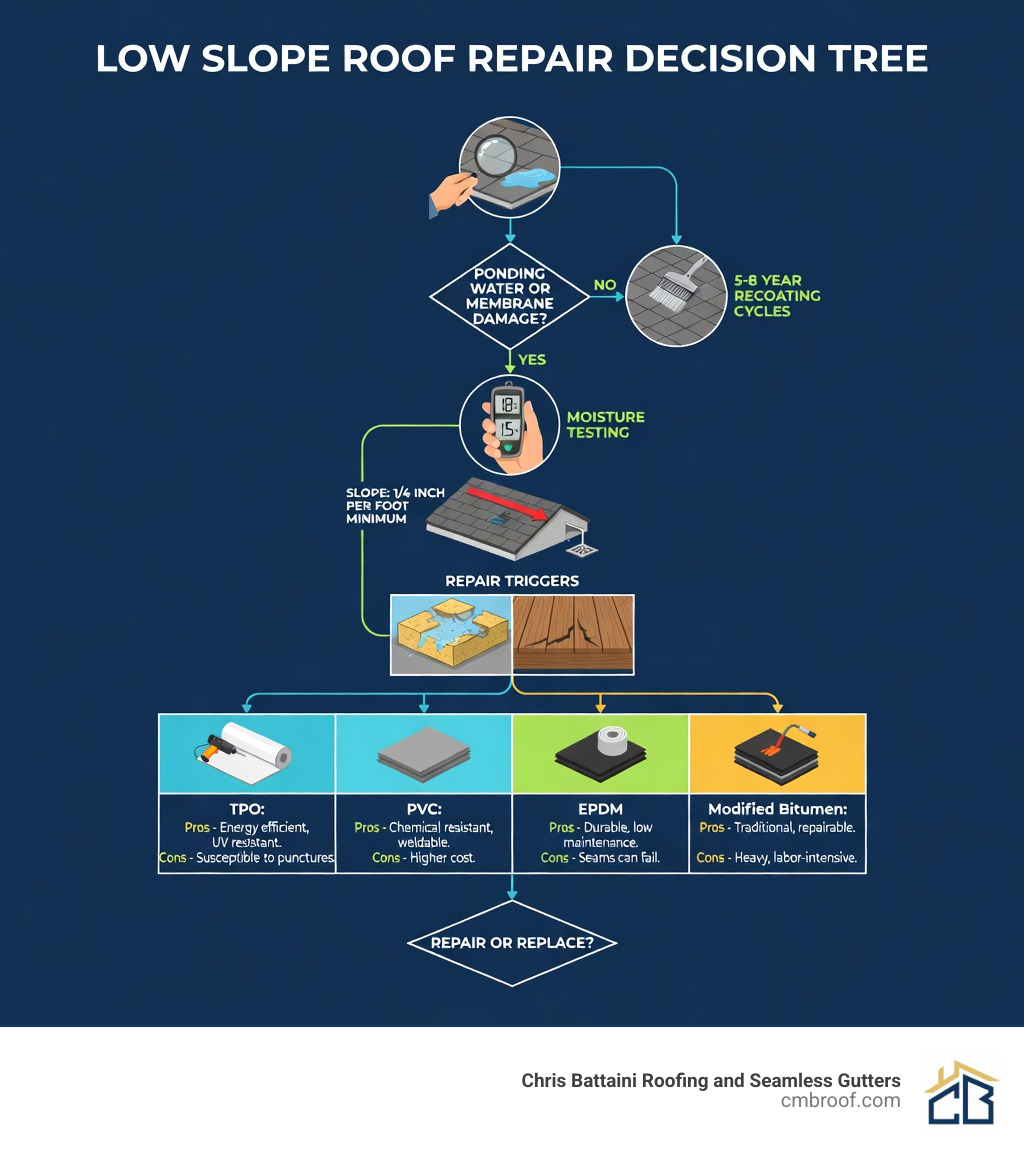
The National Roofing Contractors Association (NRCA) is the “gold standard” we follow for all our projects. Their guidelines are clear: a low-slope roof should have a minimum slope of 1/4 inch per foot. This ensures that water moves toward the drains or scuppers rather than hanging around.
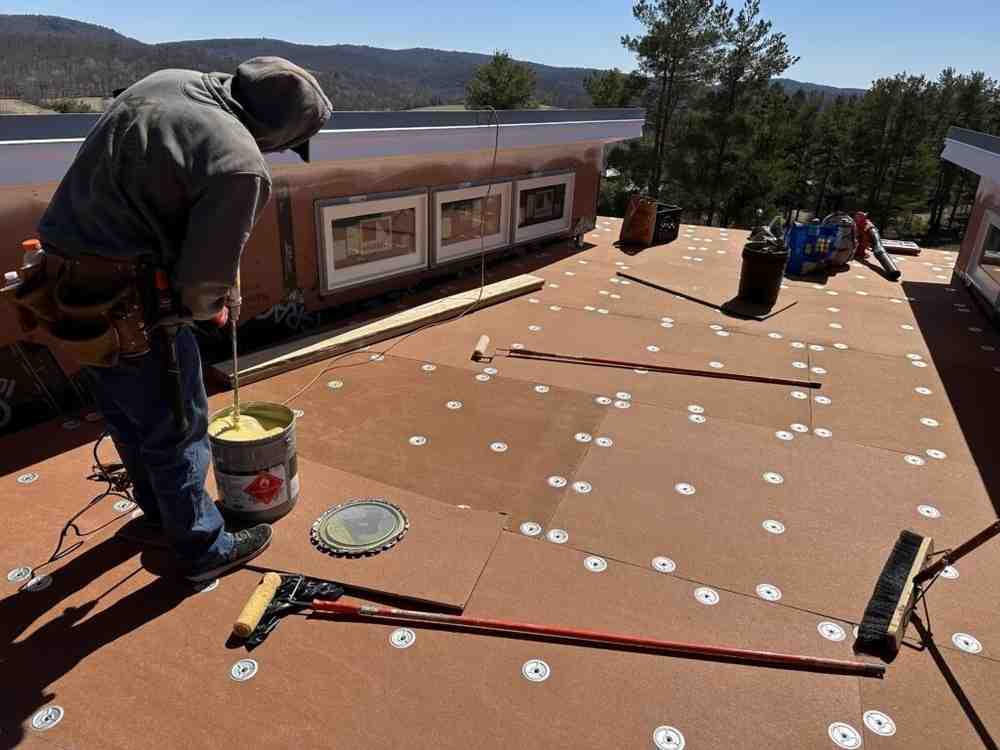
When we perform a low slope roof repair, we don’t just slap a patch on and leave. We look at the design. Does the roof need “crickets”? These are small, tent-like structures built behind chimneys or in valleys to divert water around obstructions. We also use cant strips at all 90-degree wall transitions to reduce the stress on the Flat Roofing Materials.
Preparation is the most critical step. We never install a new membrane over a wet or damaged substrate. Before we begin, we check moisture levels. Wood must have a moisture content below 20%, and if we’re working near interior finishes, drywall and plaster should be below 2%.
| Repair Trigger | Action Needed | Replacement Trigger |
|---|---|---|
| Isolated puncture or tear | Membrane patch | Extensive wet insulation (>25% of area) |
| Minor flashing separation | Reseal and reinforce | Deteriorated or rotted roof deck |
| Surface chalking | Elastomeric coating | More than two existing roof layers |
| Small area of ponding | Install a cricket | Building code non-compliance |
For minor issues, we use high-performance flashing reinforcement and membrane patching. If we’re working with a thermoplastic membrane like TPO or PVC, we use heat-welding to fuse the new patch to the old surface, creating a permanent, monolithic bond.
For older asphalt-based roofs that are still structurally sound but showing surface wear, we may recommend Commercial Roof Coatings as a Solution for Ponding Water. These reflective coatings can seal micro-cracks and improve energy efficiency. However, we always refer to the Repair Manual for Low-slope Membrane Roof Systems to ensure every repair meets industry best practices for the specific material involved.
One of the biggest “hidden” dangers in low-slope roofing is phenolic foam insulation. If you have a building in Adams or North Adams built between 1982 and 1992, you might have this material over a steel deck. When phenolic foam gets wet, it releases an acidic liquid that can eat through a steel roof deck in surprisingly short order.
According to Low-slope reroofing guidelines, any wet insulation must be removed. We don’t believe in “venting” wet insulation—it simply doesn’t work. Trapped moisture leads to mold, structural rot, and the dreaded “blistering” of your new roof. We also evaluate the need for vapor retarders, which prevent warm, moist interior air from condensing inside your cool roof assembly during our cold Massachusetts winters.
Choosing the right material for your low slope roof repair or replacement depends on your building’s use. Here are the heavy hitters:
At Chris Battaini Roofing and Seamless Gutters, we prioritize safety and precision. For modified bitumen, we often use “torch-down” methods, where an open flame melts the asphalt to create a seal. This requires extreme caution; we stay on-site for at least two hours after the last torch is extinguished to monitor for “hot spots.”
Alternatively, we use cold adhesives or self-adhered membranes, which are safer and low-odor—ideal for occupied office buildings or homes. Regardless of the method, we follow the strict guidelines found in our Certified Roofing Contractor Ultimate Guide to ensure the manufacturer’s warranty remains valid.
Weather is the primary driver of roof aging in Berkshire County. From heavy snow loads in Windsor to the freeze-thaw cycles in Stockbridge, your roof is constantly expanding and contracting. This thermal expansion can stress seams and flashings.
We suggest a maintenance schedule that includes annual inspections. Clearing drains, checking for debris, and inspecting flashings can double the life of your roof. Following our Residential Flat Roof Maintenance Tips is the best way to avoid a premature replacement.
When does it make sense to stop repairing and start replacing? We look at the “Rule of Two.” Building codes generally limit you to two layers of roofing. If you already have two layers, a “re-cover” is not an option; you must do a full tear-off.
We also consider the age and the “repair-to-replacement cost ratio.” If you’re spending 20% of the cost of a new roof every year on repairs, it’s time for a change.
Average Cost Insights Based on publicly available internet data, here are the average costs for low-slope work. Please note these are general averages and not our specific pricing:
The NRCA “48-hour rule” is the standard. If you still have standing water two days after a rainstorm (during conditions conducive to drying), you have a drainage problem. This “ponding water” can void many manufacturer warranties and leads to rapid membrane degradation.
Yes, this is called a “re-cover.” However, we only recommend it if there is only one existing layer, the insulation is dry, and the roof deck is structurally sound. We always suggest a separation layer between the old and new systems to prevent material incompatibility.
Modified bitumen is excellent for foot traffic because it is thick and puncture-resistant. If you choose a single-ply membrane like TPO or EPDM for a roof that sees frequent HVAC maintenance, we always install “walkway pads”—extra thick reinforced strips—in high-traffic paths to protect the membrane.
Mastering the low slope isn’t about finding the cheapest patch; it’s about understanding drainage, material compatibility, and the unique challenges of our Berkshire County climate. Whether you’re dealing with a minor leak in Great Barrington or planning a major commercial project in Pittsfield, our team is here to provide the expert guidance you need.
At Chris Battaini Roofing and Seamless Gutters, we take pride in our Residential Flat Roofing expertise. We don’t just fix roofs; we build long-term relationships with our neighbors through owner-led, on-site service and warranties that actually mean something.
Chris Battaini Roofing and Seamless Gutters is an Owens Corning Platinum Preferred Contractor. This earned, elite designation is limited to the top tier of roofing professionals nationwide.
The company services Berkshire County, Massachusetts.
Follow us on Facebook — https://www.facebook.com/chrisbattainiroofing
Need a reliable roofer? CMB Roofing provides licensed, insured, and professional roofing services for homeowners and businesses.
We stand by a simple promise: Clear estimates. Quality workmanship. Clean job sites.
From roof repairs and full replacements to storm damage restoration, our team delivers dependable results with durable materials, expert installation, and complete site cleanup.